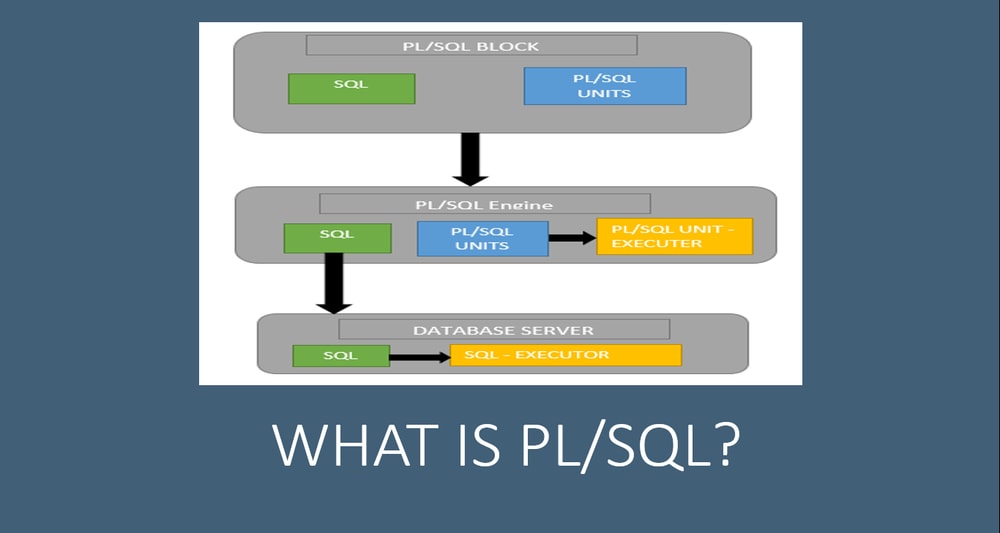
You will want to get rating for your android application at some point. A user will click on a set of stars to set the rating value. Android provides a built-in class, RatingBar, which is an extension of SeekBar and ProgressBar that shows a rating in stars. RatingBar is a subclass of the AbsSeekBar class. The user can touch/drag or use arrow keys to set the rating when using the default size RatingBar. The Rating returns a floating-point number. It may be 1.0, 2.5, 4.0 etc.
RatingBar XML code:
<RatingBar
        android:id="@+id/ratingBar"
        android:layout_width="wrap_content"
        android:layout_height="wrap_content"
        android:layout_gravity="center"
        android:layout_marginVertical="25dp"
        android:numStars="5"
        android:stepSize="1" />
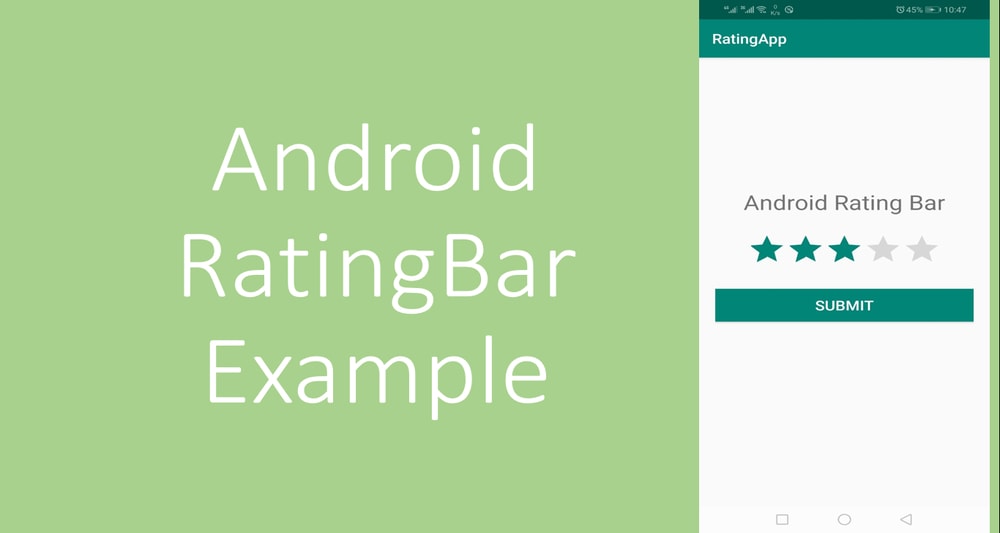
Android RatingBar Example in Android Studio
Let’s now create a simple ratingbar in an example. The steps for creating a new project and basics in Android Studio have been explained in the previous articles like this.
After creating a new project the following is the content for activity_main.xml
<?xml version="1.0" encoding="utf-8"?>
<LinearLayout xmlns:android="http://schemas.android.com/apk/res/android"
    xmlns:tools="http://schemas.android.com/tools"
    android:layout_width="match_parent"
    android:layout_height="match_parent"
    android:layout_margin="20dp"
    android:orientation="vertical"
    tools:context=".MainActivity"
    android:gravity="center">
    <TextView
        android:layout_width="match_parent"
        android:layout_height="wrap_content"
        android:gravity="center"
        android:text="Android Rating Bar"
        android:textSize="30dp" />
    <RatingBar
        android:id="@+id/ratingBar"
        android:layout_width="wrap_content"
        android:layout_height="wrap_content"
        android:layout_gravity="center"
        android:layout_marginVertical="25dp"
        android:numStars="5"
        android:stepSize="1" />
    <Button
        android:id="@+id/button"
        android:layout_width="match_parent"
        android:layout_height="wrap_content"
        android:background="@color/colorPrimary"
        android:text="Submit"
        android:textColor="#FFF"
        android:textSize="20dp" />
    <TextView
        android:id="@+id/value"
        android:layout_width="match_parent"
        android:layout_height="wrap_content"
        android:gravity="center"
        android:layout_marginVertical="30dp"
        android:text=""/>
</LinearLayout>
We have created the RatingBar and a button that the user will click to submit the rating value. In this example, we shall pick the rating value and display it in a text view.
The following is the java code for Android RatingBar. Copy it and paste in MainActivity.java
package com.example.ratingapp;
import androidx.appcompat.app.AppCompatActivity;
import android.os.Bundle;
import android.view.View;
import android.widget.Button;
import android.widget.RatingBar;
import android.widget.TextView;
import android.widget.Toast;
public class MainActivity extends AppCompatActivity {
    RatingBar ratingbar;
    Button button;
    TextView value;
    @Override
    protected void onCreate(Bundle savedInstanceState) {
        super.onCreate(savedInstanceState);
        setContentView(R.layout.activity_main);
        ratingbar = findViewById(R.id.ratingBar);
        button = findViewById(R.id.button);
        value = findViewById(R.id.value);
        button.setOnClickListener(new View.OnClickListener(){
            @Override
            public void onClick(View arg0) {
                //Getting the rating and displaying it on the toast
                String rating=String.valueOf(ratingbar.getRating());
                Toast.makeText(getApplicationContext(), rating, Toast.LENGTH_LONG).show();
                value.setText(rating);
            }
        });
    }
}
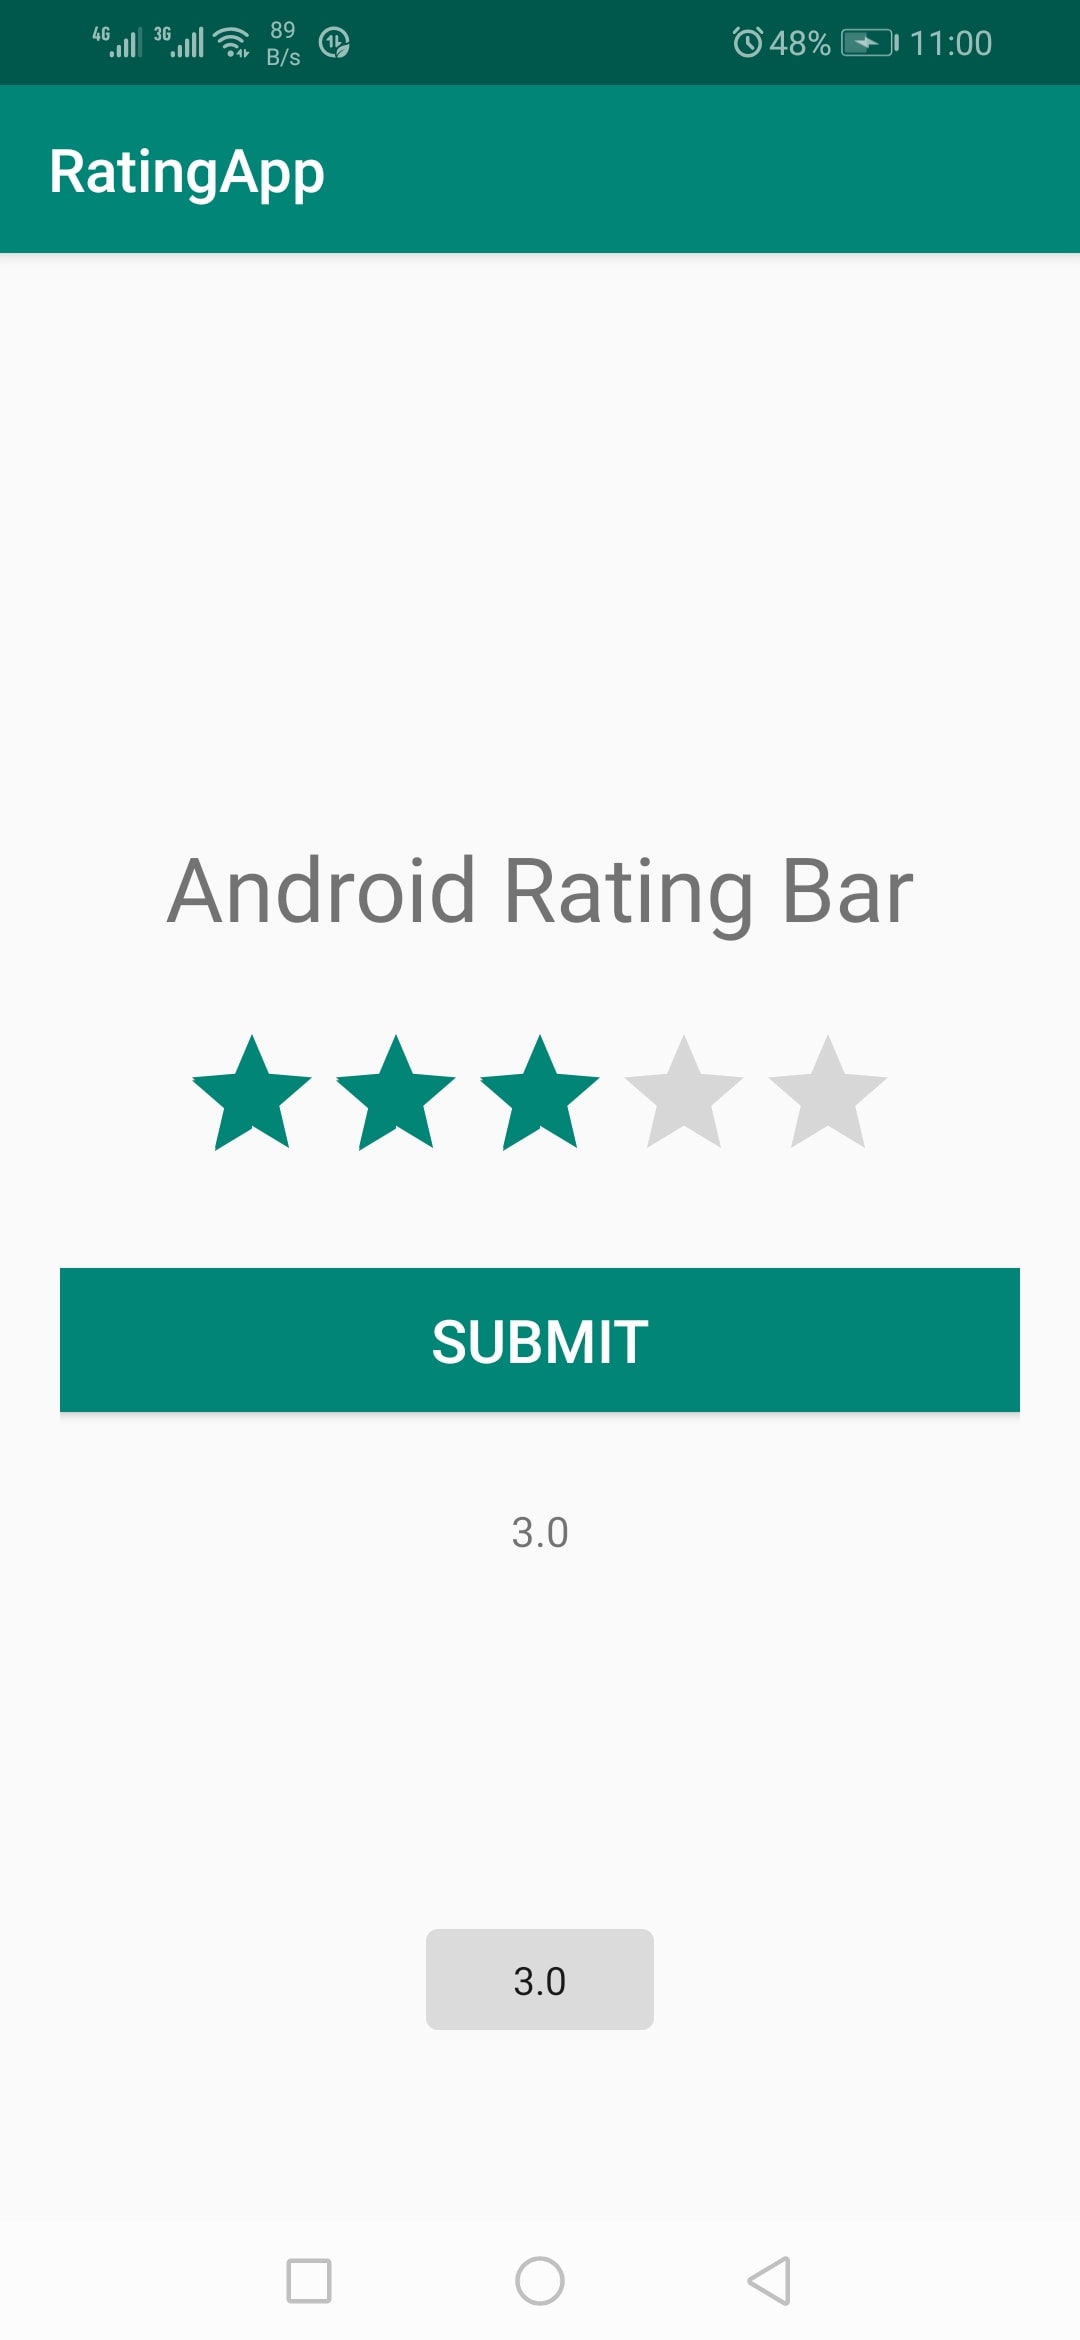
The getRating() method of android RatingBar class returns the rating number.
When the user clicks the submit button, we get the rating value using getRating(). We then display this value in a textview using the setText() method.
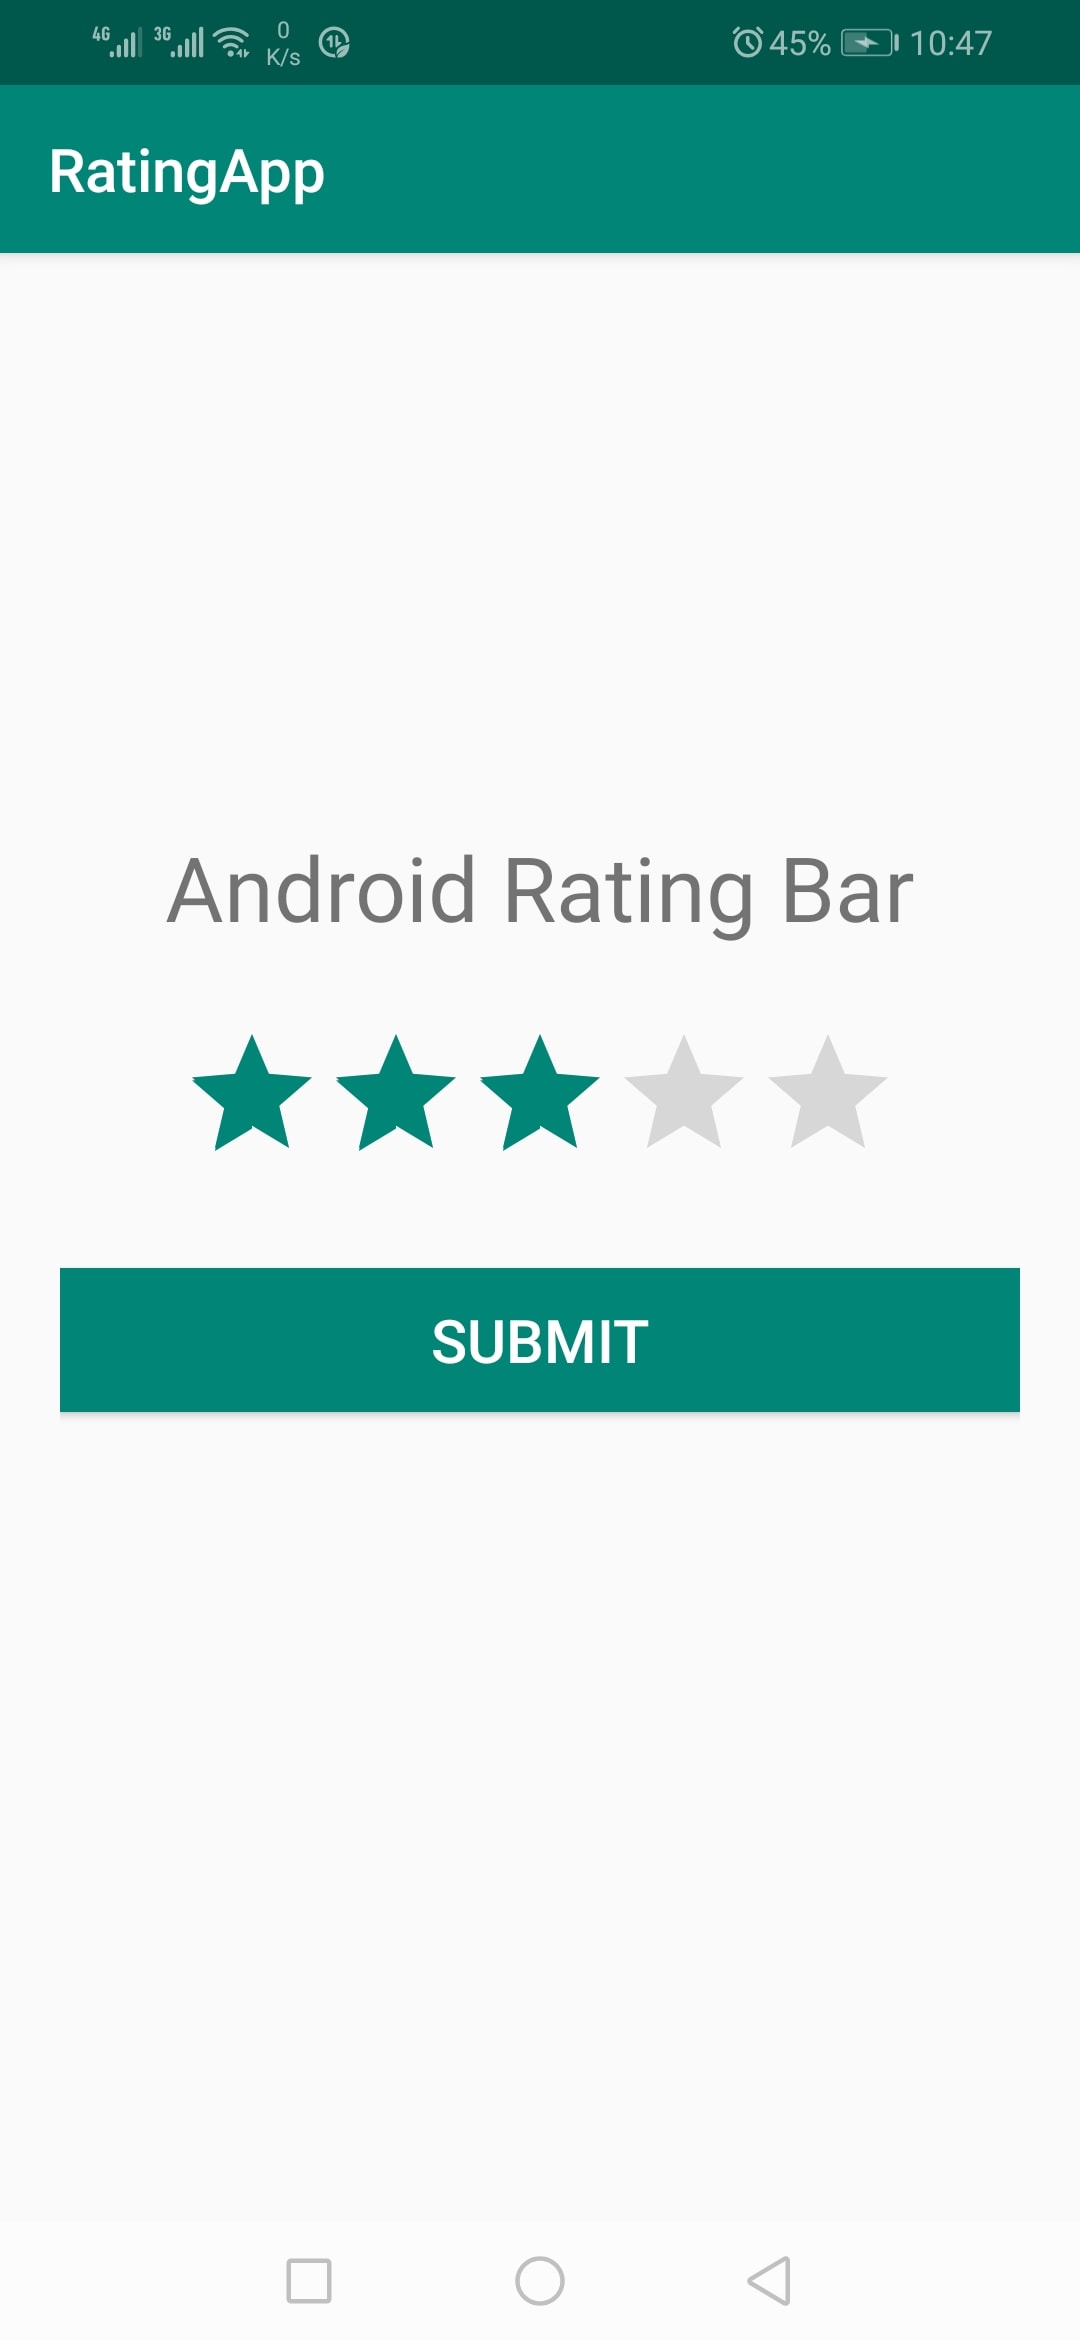
Output
When you run the application successfully, you will get output similar to the following screenshots.
To learn how to post the value to MySQL database using PHP read this retrofit tutorial or this volley tutorial.
Attributes Used in RatingBar:
You can set the background of the RatingBar using android:background="" in XML or use setBackgroundColor() method in java.
You can set the number of stars to be displayed using android:numStars="" in XML or use setNumStars() method in Java. The value should be an integer number eg 1,2, 5,8 etc.
You can set the default rating value in Android RatingBar using android:rating="" in XML or use setRating() method in Java. The value should be a floating-point number eg, 1.0, 2.5, 5.0, etc
Conclusion
That is how you get a rating for your Android application using the Android RatingBar. You can get the complete code for Android RatingBar from my GitHub repository. You may also make changes to the code and use it in your projects.
Thank you for reading this article. Please vote below and share it with your friends and fellow android developers.