A database is ideal for storing repeating or structured data. In this tutorial, I will show you how to insert, update, delete, and select data from Android SQLite. Android SQLite is the most common way of storing data in android apps. If you are new in SQL databases I recommend you read this article to know the most important SQL queries. You will learn how to create a database, create tables, and alter tables and all CRUD operations.
What is Android SQLite?
Android comes with a very lightweight inbuilt relational database called Android SQLite. Android SQLite is an implementation of the SQLite database and comes with all relational features. Every Android can create its own SQLite database because SQLite is included in the Android runtime. You do not need to use any API like JDBC or ODBC because these might consume a lot of memory for a smartphone. Once a database is created successfully its located in data/data//databases/ accessible from Android Device Monitor. Your data is secure because by default this location is not accessible to other apps or the user.
The SQLiteOpenHelper class has important APIs for managing your database. The class contains the logic to create a new database or upgrade an existing database whenever the schema is changed. When you use this class to obtain references to your database, the system performs the potentially long-running operations of creating and updating the database only when needed and not during app startup. All you need to do is call getWritableDatabase() or getReadableDatabase().
To use the SQLiteOpenHelper class, we’ll need to create a class that inherits SQLiteOpenHelper and implements at least the following three methods.
- Constructor(Context context)
- onCreate(SQLiteDatabase db) – called when there is no database and the app needs to create one.
- onUpgrade(SQLiteDatabase db, int oldVersion, int newVersion) – called when the schema version needs to be updated. It requires the object of the old version number and the new version.
For example, here's an implementation of SQLiteOpenHelper that uses some of the commands shown above:
public class SQliteDBHelper extends SQLiteOpenHelper {
    public static final String tableName = "CARS";
    // Table columns
    public static final String id = "ID";
    public static final String make = "MAKE";
    public static final  String model = "MODEL";
    public static final  String color = "COLOR";
    public static final  String reg_no = "REG_NO";
    public static final String year = "YEAR";
    // Database Information
    static final String dbName = "CARS.DB";
    // database version
    static final int dbVersion = 1;
    // Creating table query
    private static final String createTable = "create table " + tableName + "(" + id
            + " INTEGER PRIMARY KEY AUTOINCREMENT, "
            + make + " TEXT NOT NULL, "
            + model + " TEXT NOT NULL, "
            + color + " TEXT NOT NULL, "
            + reg_no + " TEXT NOT NULL, "
            + year + " INT NOT NULL);";
    public SQliteDBHelper(Context context) {
        super(context, dbName, null, dbVersion);
    }
    @Override
    public void onCreate(SQLiteDatabase db) {
        db.execSQL(createTable);
    }
    @Override
    public void onUpgrade(SQLiteDatabase db, int oldVersion, int newVersion) {
        db.execSQL("DROP TABLE IF EXISTS " + tableName);
        onCreate(db);
    }
}
The schema is reflected in the SQL statements that you use to create your database. You may find it helpful to create a companion class, known as a contract class, which explicitly specifies the layout of your schema in a systematic and self-documenting way.
A contract class is a container for constants that define names for URIs, tables, and columns. The contract class allows you to use the same constants across all the other classes in the same package. This lets you change a column name in one place and have it propagate throughout your code.
Opening and Closing Android SQLite Connection.
First, open the database connection by calling the getWritableDatabase(). You cannot perform any database CRUD (Create, Read, Update, and Delete) operation before connecting to the database. We will create a custom class that will open a connection to the database, perform all our CRUD operations as well as closes the connection.
The following code opens a connection to the database.
public SQliteCRUDManager open() throws SQLException {
        sqliteDBHelper = new SQliteDBHelper(context);
        sqliteDB = sqliteDBHelper.getWritableDatabase();
        return this;
    }
sqliteDBHelper is an instance of the SQliteDBHelper class that we created as a subclass of SQLiteOpenHelper.
To close a database connection the close() method is invoked.
public void close() {
        sqliteDBHelper.close();
    }
Inserting Data into Android SQLite database table
The following code snippet shows how to insert a row in the Android SQLite database table:
public void insertCar(Car car) {
        ContentValues contentValue = new ContentValues();
        contentValue.put(SQliteDBHelper.make, car.getMake());
        contentValue.put(SQliteDBHelper.model, car.getModel());
        contentValue.put(SQliteDBHelper.color, car.getColor());
        contentValue.put(SQliteDBHelper.reg_no, car.getReg_no());
        contentValue.put(SQliteDBHelper.year, car.getYear());
        sqliteDB.insert(SQliteDBHelper.tableName, null, contentValue);
    }
Content Values create an empty set of values using the given initial size. We’ll discuss the other instance values when we jump into the coding part.
Updating Data into Android SQLite database table
The following code snippet shows how to update data in the Android SQLite database table:
public int updateCar(long id, Car car) {
        ContentValues contentValue = new ContentValues();
        contentValue.put(SQliteDBHelper.make, car.getMake());
        contentValue.put(SQliteDBHelper.model, car.getModel());
        contentValue.put(SQliteDBHelper.color, car.getColor());
        contentValue.put(SQliteDBHelper.reg_no, car.getReg_no());
        contentValue.put(SQliteDBHelper.year, car.getYear());
        int i = sqliteDB.update(SQliteDBHelper.tableName, contentValue, SQliteDBHelper.id + " = " + id, null);
        return i;
    }
Deleting Data into Android SQLite database table
The following code snippet shows how to delete data in the Android SQLite database table:
public void deleteCar(int id) {
        try {
            sqliteDB.delete(SQliteDBHelper.tableName, SQliteDBHelper.id + "=" + id, null);
        }catch (Exception e){
            e.printStackTrace();
        }
    }
Use Android SQLite Cursor to select data from a table
The following code is used to fetch all records:
public Cursor fetchCars() {
        String[] columns = new String[] { SQliteDBHelper.id, SQliteDBHelper.make, SQliteDBHelper.model,
                SQliteDBHelper.color, SQliteDBHelper.reg_no, SQliteDBHelper.year};
        Cursor cursor = sqliteDB.query(SQliteDBHelper.tableName, columns, null, null, null, null, null);
        if (cursor != null) {
            cursor.moveToFirst();
        }
        return cursor;
    }
Calling cursor.moveToFirst() does the following things:
- Allows to test if the query returned an empty dataset
- Moves the cursor to the first result whet the set is not empty.
The following is the code for SQliteCRUDManager class
package com.ericmuchenah.androidsqlite;
import android.content.ContentValues;
import android.content.Context;
import android.database.Cursor;
import android.database.SQLException;
import android.database.sqlite.SQLiteDatabase;
public class SQliteCRUDManager {
    private SQliteDBHelper sqliteDBHelper;
    private Context context;
    private SQLiteDatabase sqliteDB;
    public SQliteCRUDManager(Context c) {
        context = c;
    }

    public SQliteCRUDManager open() throws SQLException {
        sqliteDBHelper = new SQliteDBHelper(context);
        sqliteDB = sqliteDBHelper.getWritableDatabase();
        return this;
    }
    public void close() {
        sqliteDBHelper.close();
    }
    public void insertCar(Car car) {
        ContentValues contentValue = new ContentValues();
        contentValue.put(SQliteDBHelper.make, car.getMake());
        contentValue.put(SQliteDBHelper.model, car.getModel());
        contentValue.put(SQliteDBHelper.color, car.getColor());
        contentValue.put(SQliteDBHelper.reg_no, car.getReg_no());
        contentValue.put(SQliteDBHelper.year, car.getYear());
        sqliteDB.insert(SQliteDBHelper.tableName, null, contentValue);
    }
    public Cursor fetchCars() {
        String[] columns = new String[] { SQliteDBHelper.id, SQliteDBHelper.make, SQliteDBHelper.model,
                SQliteDBHelper.color, SQliteDBHelper.reg_no, SQliteDBHelper.year};
        Cursor cursor = sqliteDB.query(SQliteDBHelper.tableName, columns, null, null, null, null, null);
        if (cursor != null) {
            cursor.moveToFirst();
        }
        return cursor;
    }
    public int updateCar(long id, Car car) {
        ContentValues contentValue = new ContentValues();
        contentValue.put(SQliteDBHelper.make, car.getMake());
        contentValue.put(SQliteDBHelper.model, car.getModel());
        contentValue.put(SQliteDBHelper.color, car.getColor());
        contentValue.put(SQliteDBHelper.reg_no, car.getReg_no());
        contentValue.put(SQliteDBHelper.year, car.getYear());
        int i = sqliteDB.update(SQliteDBHelper.tableName, contentValue, SQliteDBHelper.id + " = " + id, null);
        return i;
    }
    public void deleteCar(int id) {
        try {
            sqliteDB.delete(SQliteDBHelper.tableName, SQliteDBHelper.id + "=" + id, null);
        }catch (Exception e){
            e.printStackTrace();
        }
    }
}
Part II
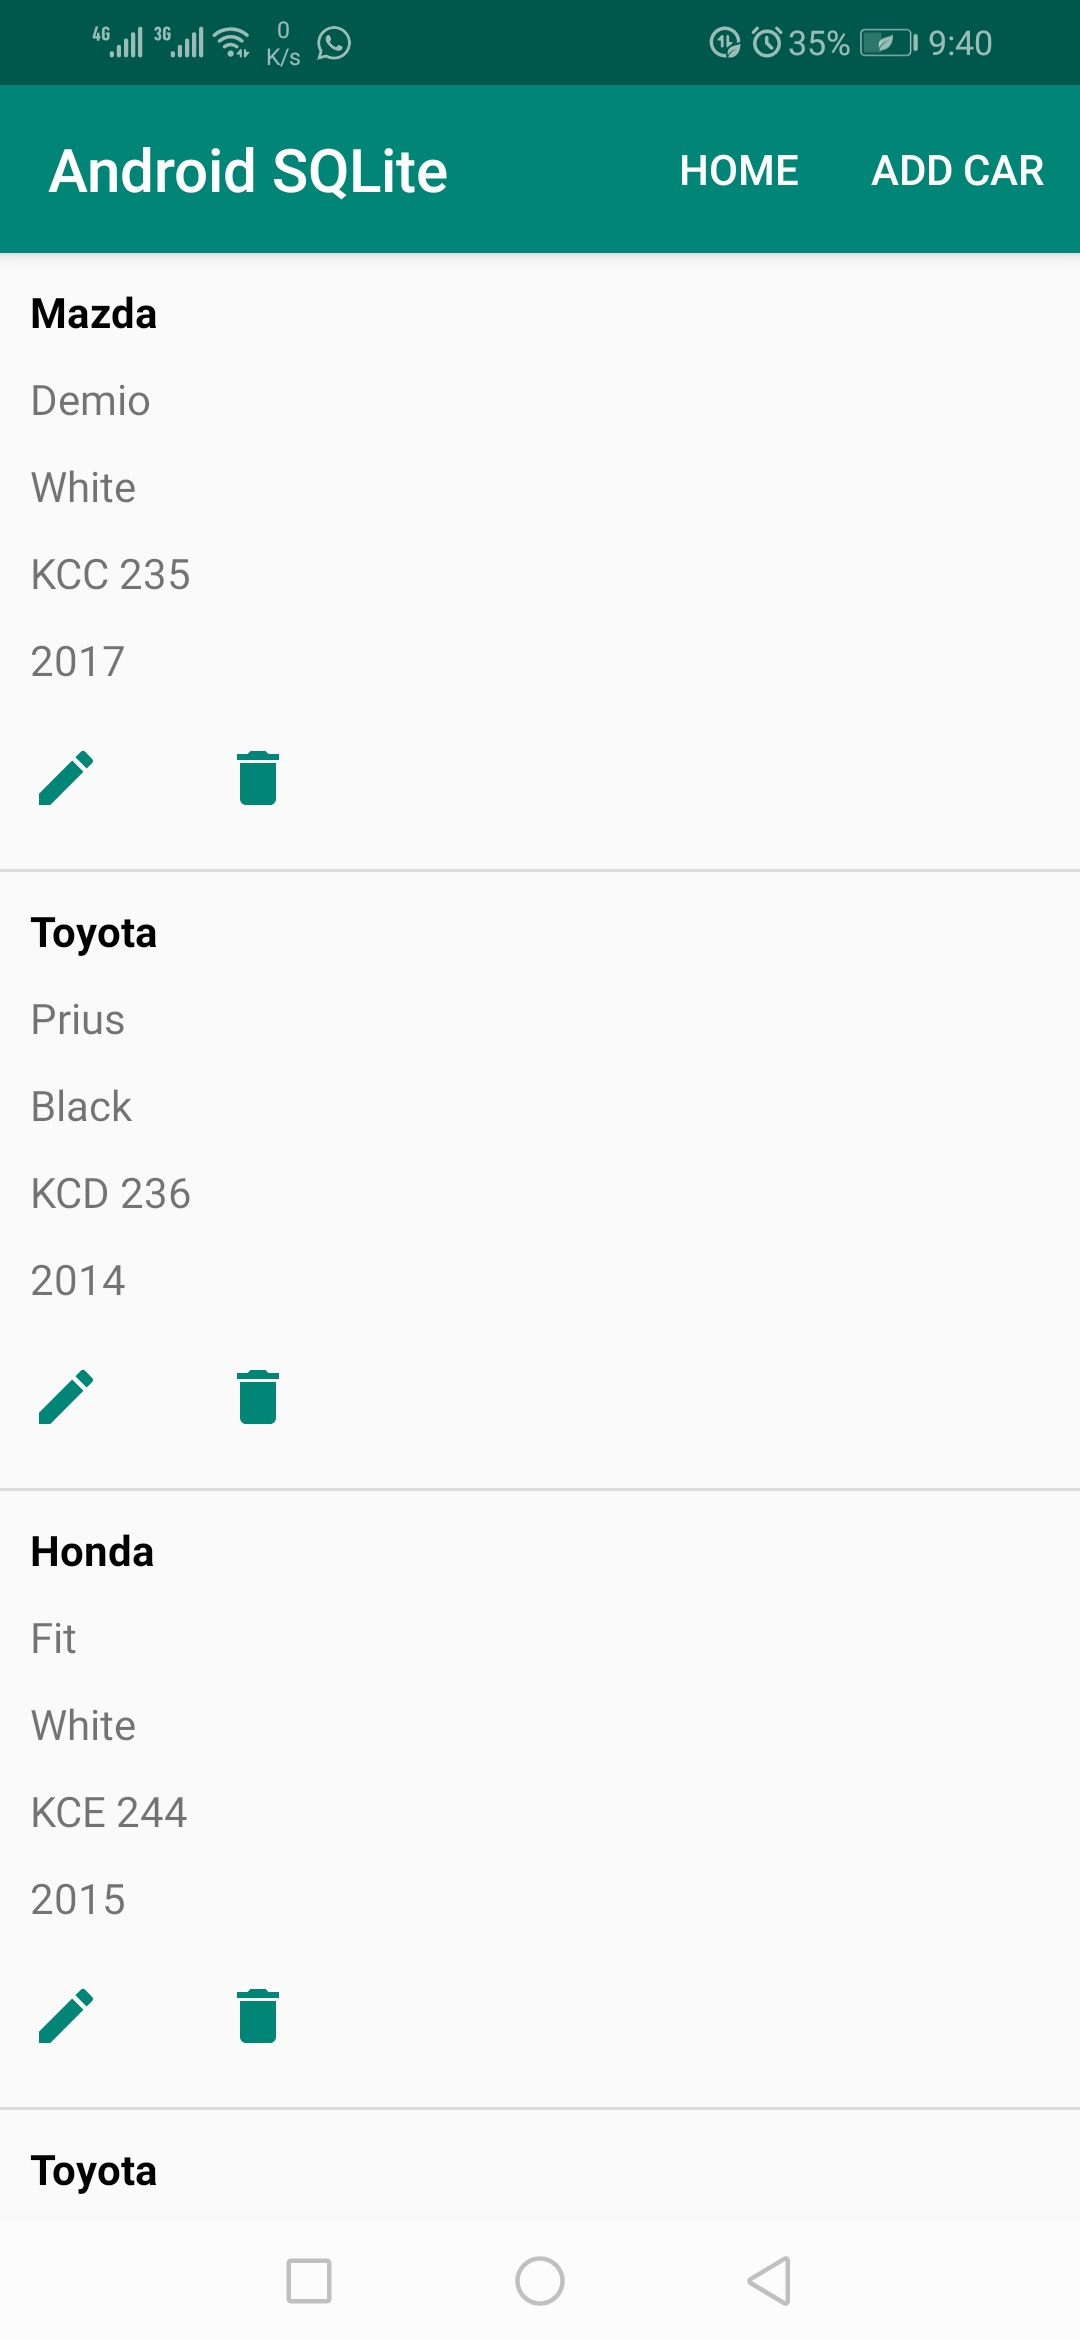
In the next tutorial, we will create an Android application that stores car data in the database. We will insert car data in the database, update the data, delete the data, and select the data. The following is the screenshot of the application we will build.
The source code can be found here.